10 Killer Apple Intelligence Features YOU NEED TO TRY!
So Apple Intelligence is finally here, and it's about time. I mean, how long has it been? So yes, it's here, but only for those of you who are in the US.
But have no fear if you're outside the United States, there is a way that you can start using Apple Ai today & I'm going to show you how & once you've unlocked Apple Intelligence, I'm going to show you the top 10 use cases for it on day one.
Unlocking Apple Intelligence
So, this is the first step to unlocking the new AI on iOS. Go to :
Settings / General / Software Update / Beta Updates
Here, make sure you have Beta updates enabled & make sure you have iOS 18.1 downloaded and installed.
The next step is this. Go to :
Settings / General / Language & Region / Region / Change it to the United States
The third & final step is this.
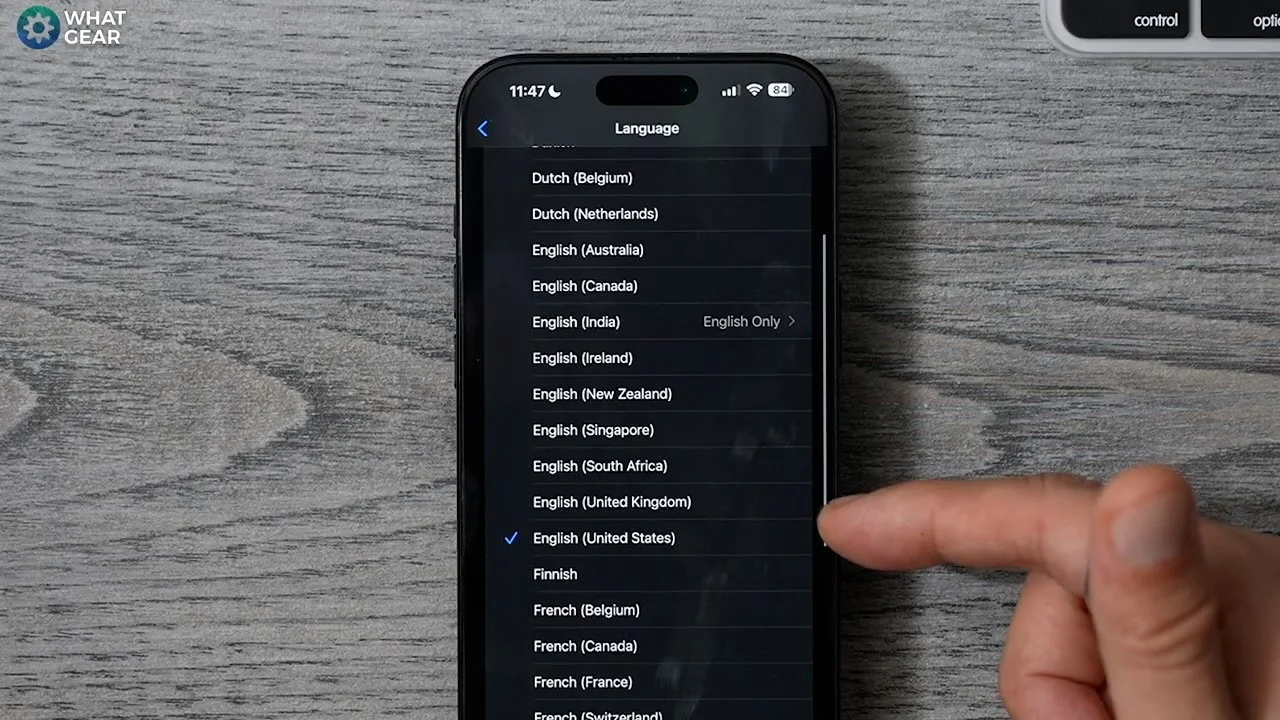
Settings / Apple Intelligence & Siri / Siri Request Menu / Language / Change to English ( United States )
On this page, you should see the option to get started with Apple Intelligence at the top. You have to request to join the program, and you may need to wait half an hour before your device is approved & then you should be good to go. So, with that done, you're ready for the first 10 AI things to try, so .
Clean Up/Magic Eraser
So, nobody likes a photo bomber. Well, now, with the power of AI, you erase those pesky people from existence in your photos. So here's how to use it. Open your photos app and bring up the photo that needs fixing.
Now, hit the icon with three lines and dots on it. Now, you should see the clean-up option.
When you hit this, your iPhone will auto-detect people in the frame that can be removed. So you can just tap these to remove them.
Now, if there's anything left behind or objects you want to remove. All you need to do is draw over them one at a time, and the AI will remove them and use AI to fill in the gaps as best as possible.
Siri’s Serious Upgrade
Ok, so you know you can talk to Siri. But now Siri has had a pretty significant upgrade. There are a couple of ways to use it, such as before you summon Siri with words or hold the power key. So now it's glow time.
There are many use cases for this; you can just ask Siri what you can do now. And it'll show you the options. A few beneficial ones are you can just use your voice to email someone.
Also, if there's a song playing and you activate it and talk to Siri, Shazam auto-detects what's playing for you. And it's also good at explaining how to do things on your iPhone. For example, how do I change the colour of my app icons?
And there's lots more for you to discover. But the key upgrades here are a better contextual understanding of your questions and better answers.
Don’t Call, Just Text Siri
Now, If you don't want to broadcast what you're trying to achieve using Apple Intelligence to the whole room, then you can type to Siri.
Double-tap the navigation line at the bottom of any home screen and type away. Type to Siri is a great way to explore what Apple Intelligence can do, as it tries to auto-predict what you might want to write.
The Power of Words
Writing on the iPhone has levelled up, thanks to Apple Intelligence writing tools. So, let's say you're trying to get a day off work & you manage to piece together an unconvincing and unprofessional email. Well, before you send it, you can instantly improve it in several ways.
Simply highlight the text you need to fix. And you will see the option to proofread it, which will check the grammar & you'll see re-write. You will get even more options if you tap the Apple intelligence icon. And if you're working with large amounts of text. You can use it to create summaries, key points, lists, and even tables.
AI replies
So, this is a slight improvement that you'll notice as you begin to use Apple Intelligence and will improve over time. So, the next time you receive a message from someone, you might see AI suggestions glow up above your keyboard. So this can help you save time, and this is important as you know nobody can give you your time back.
And the AI will be able to read the conversation thread to provide better suggestions & the more you use it, the better it will become at predicting what you might say next. In the same way, I can predict what most people will say when I say it. Don't forget to like and subscribe.
Check the Record
Isn't it annoying when you get a phone call from a company, and they immediately tell you all calls are being recorded? It immediately puts you on the back foot, so to speak.
Well, now you can fight fire with fire and record them also & any call for that matter.
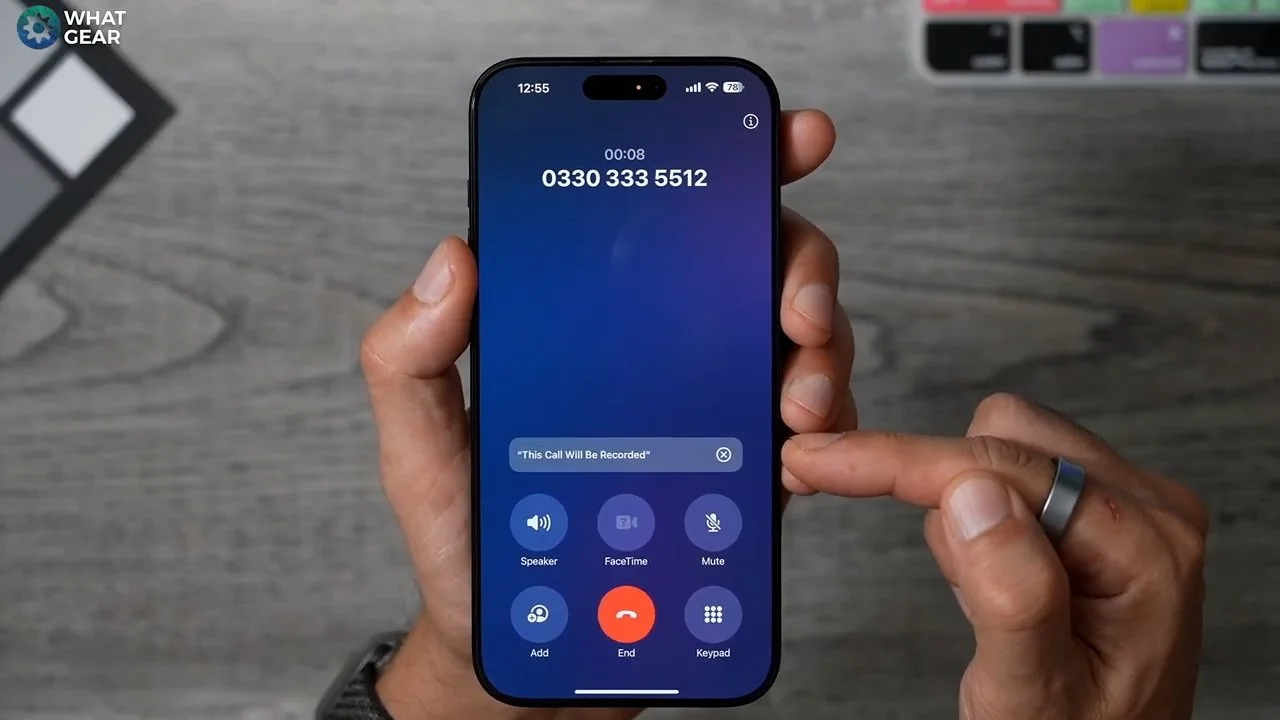
To use this, you'll see the little audio wave icon with a record button the next time you're on a phone call.
When you use this, the person on the other side will hear Siri telling them that the person you're talking to is being recorded. So, if that person tries to turn around one day and say they didn't say something. And play the recording.
The Written Words
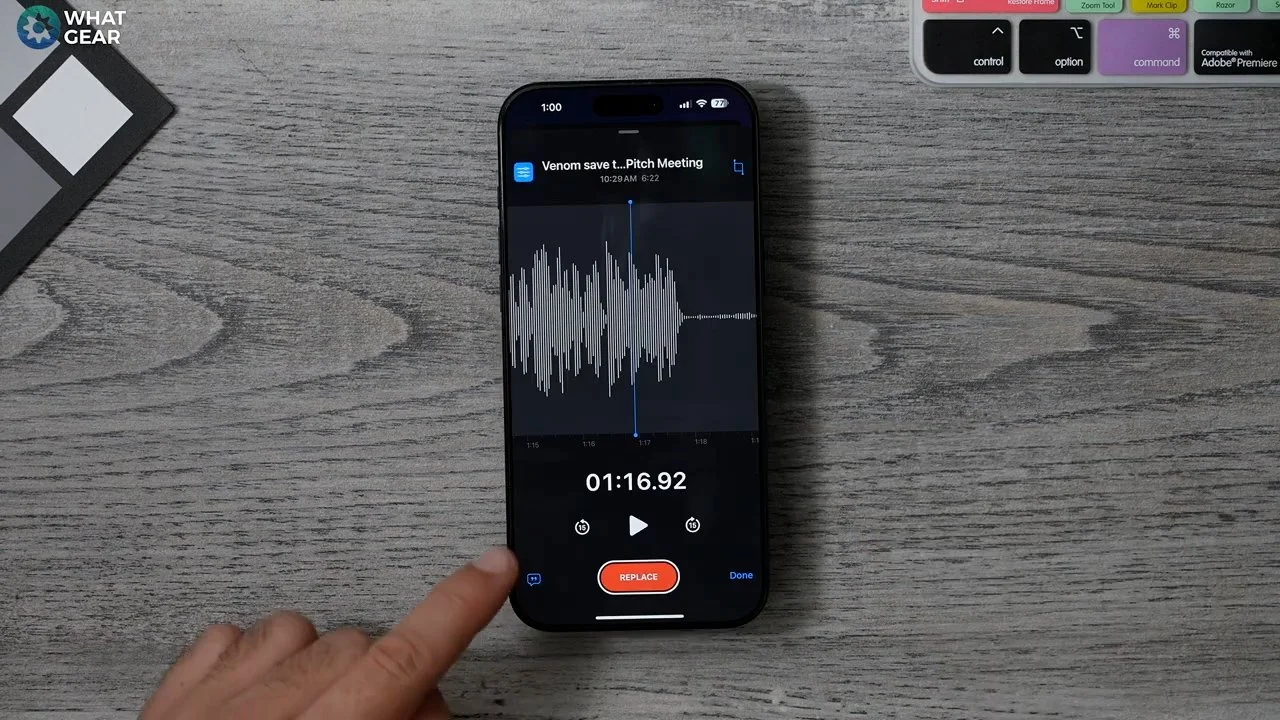
So, once you capture call recordings, they will be found in Apple's voice memo app. From here, you can record a new memo about a boring lecture, for example.
One of the greatest upgrades within the Voice Memos app is now that you can convert speech to text and summarise it.
Just open the recording to enhance the quality and get it to skip silences, then just hit the speech bubble icon. And there you have it.
It would be nice to summarise everything within the voice memo app, but once summarised, you can copy the text and paste it into Apple notes, for example, then highlight it and use the writing tools to summarise it all.
Tip 8 - Email summaries
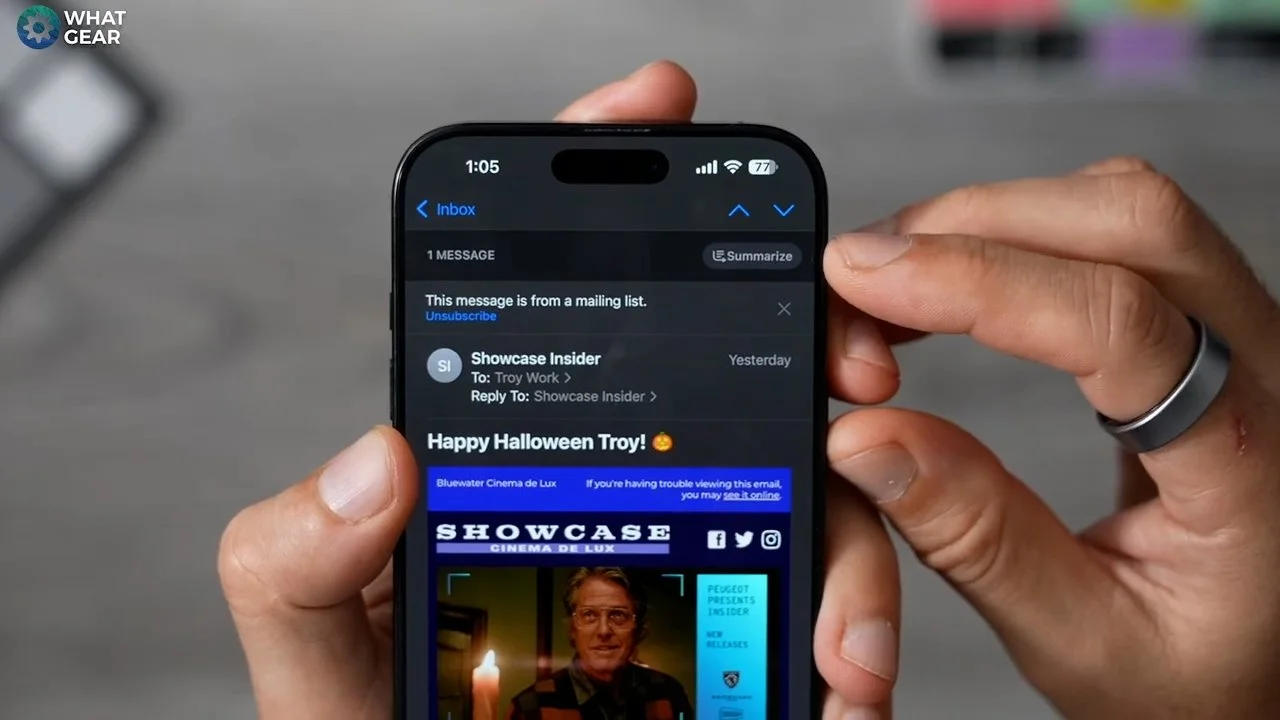
You know time is of the essence. And this new tool can help you save it. This trick works with Apple's email app. Why read along, elaborate email when you can simplify it and quickly get to the point using AI?
Simply open an email, and as long as there's enough text, you'll see the summarise tool at the top. Tap that, and you'll get the idea pretty quickly.
Something else you'll notice when using the Email app is the intelligent suggestions, just like in the messages app, will begin to show up & predict what your responses might be.
Bonus - Email Priority
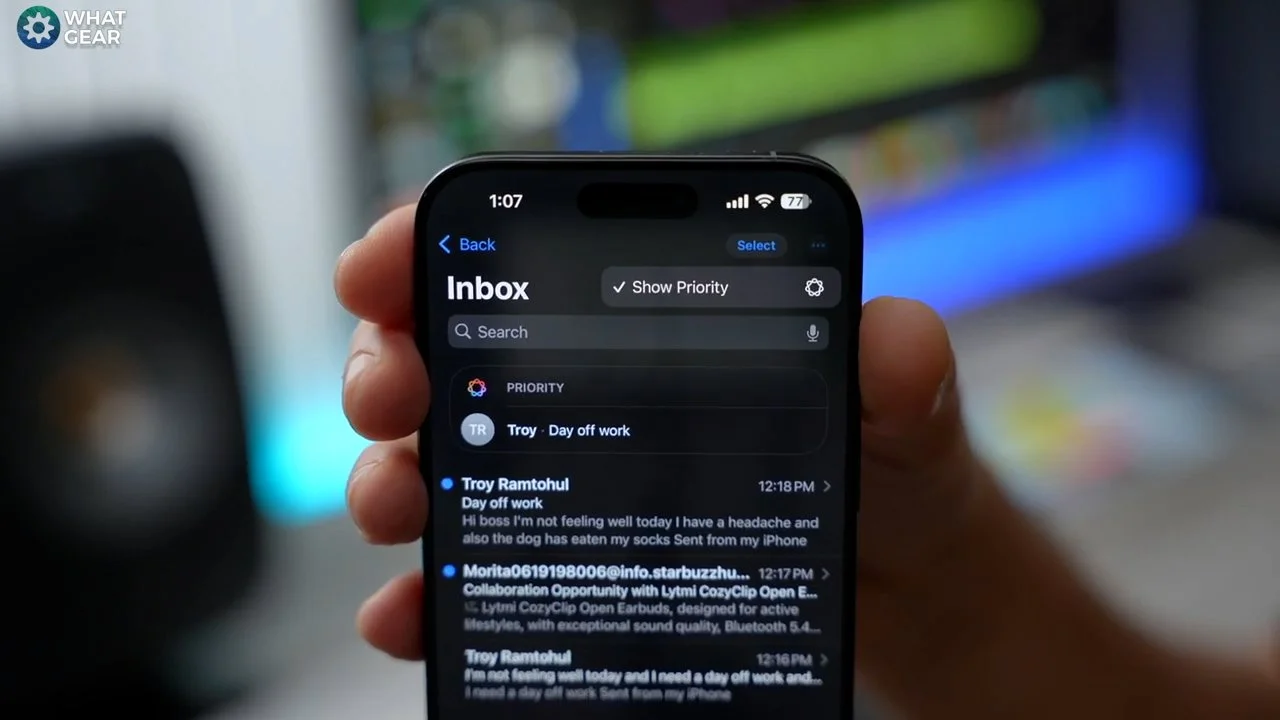
So this is a pretty big deal. Staying within the Apple Emails app if you tap the three dots in the top right corner. You should see email priority.
Make sure there's a tick next to this because with this enabled if there are any time-sensitive emails, the AI will make sure that they are highlighted at the top of your emails while they are still relevant. The Email Priority feature is handy for travel tickets and other things.
Reader AI
Here is another tip to help you save time & this is a new addition to what was already a stand-out iOS Safari tool. To access it, open up Safari & navigate to a page you might want to read.
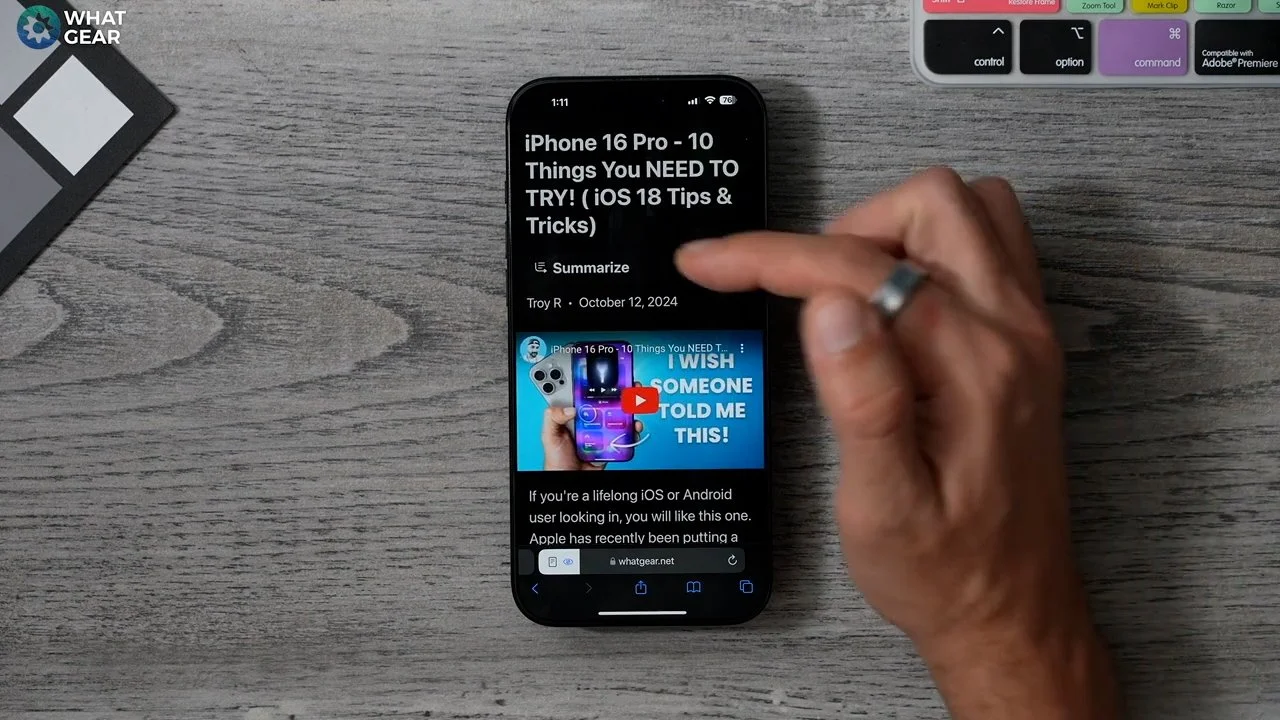
Now, instead of having to see every single Ad & read every single word between the lines. You can activate the Safari reader with this little rectangle with the lines under it.
Here, you tap show reader & now you have a nice, clean, easy-to-read version of the webpage. But the new AI addition is here. The summarise feature is at the top. Tap that, and you'll get an idea of what the page is about and if you want to.
You could highlight the text & use the writing tools to re-write it and pass it off as your own work, but you wouldn't do that, would you?
Tip 10 - Photo Memories
Ok, you made it to the end. Here's the 10th tip. If you've been an iPhone user for a long time, you probably have years and years of photos and videos on your device.
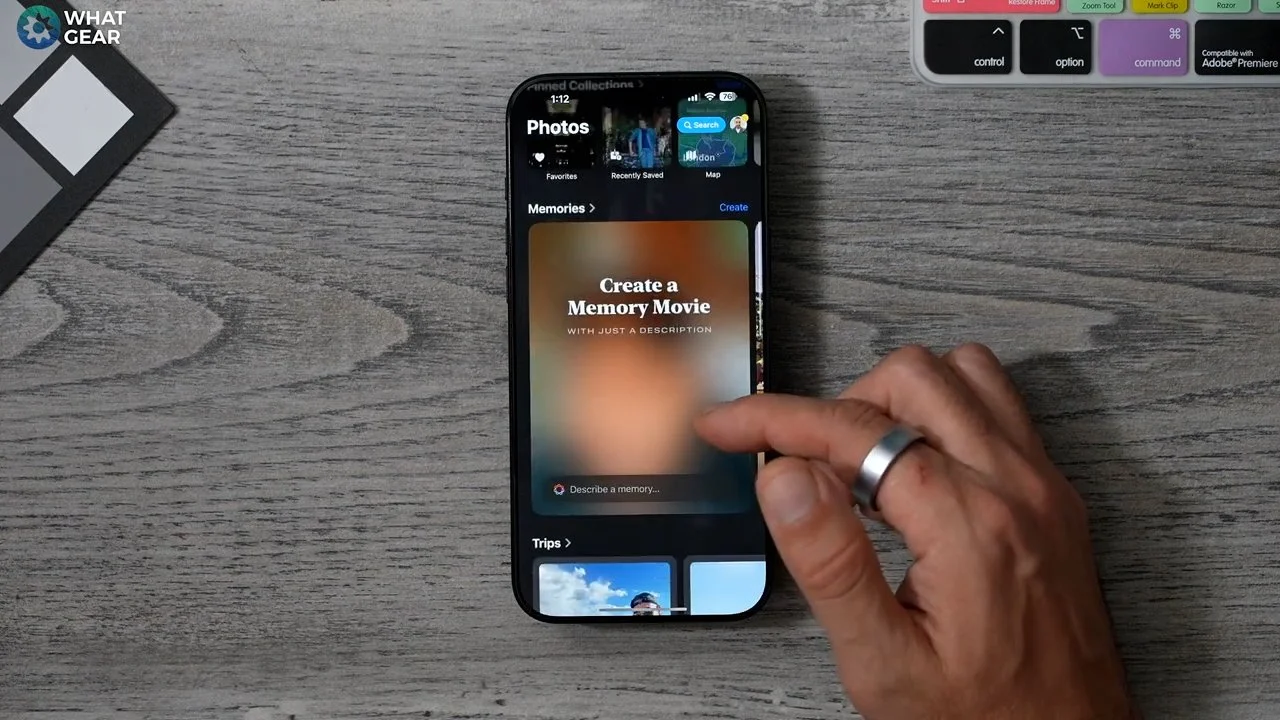
Well, if you do, you'll like this one. Open your photos app, scroll down, and see this new option in the memories section. It's called Create a Memory Movie.
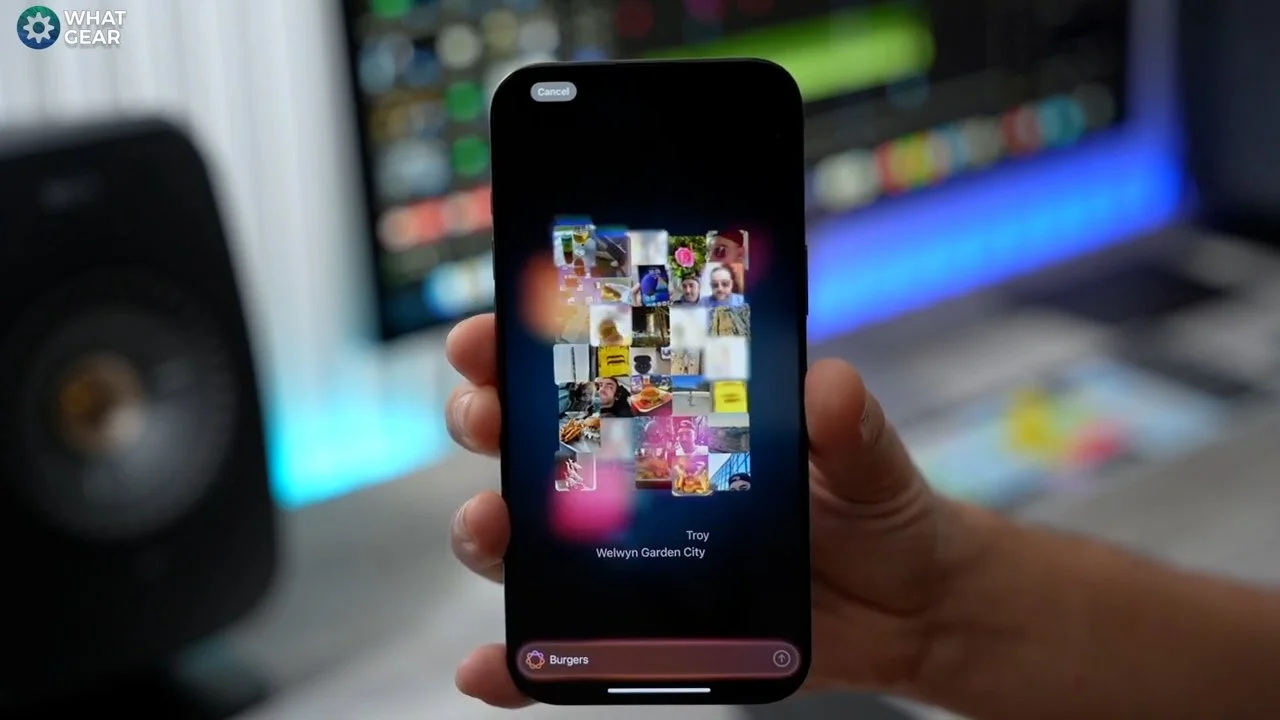
Here, you can describe a memory you'd like it to create for you, and it will scan your entire photo library and create a nice little slide show based on your description. This could be great for social media or just for reliving our memories.
So there you go those are some of the first Apple Intelligence features to use on day 1. And keep an eye out for my follow-up Apple Intelligence videos.
AI Focus Tip
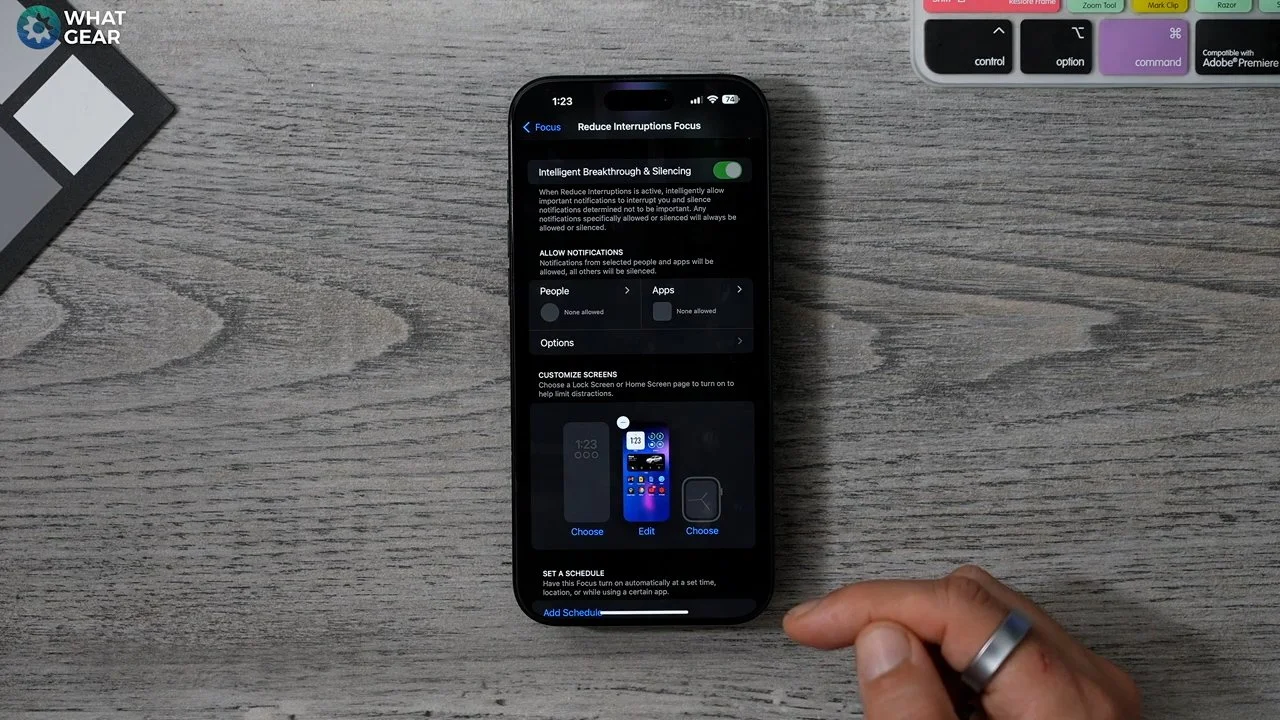
Before you go, I have one last bonus tip for you, and it’s a game-changer in helping you stay focused with a little AI assist. To activate this feature, simply open your Control Center, tap and hold the Focus Mode section, and you'll see a new option called "Reduce Interruptions."
If you’d like to customize how this mode works, head to your settings. Here, you’ll find a description of Reduce Interruptions, and you can tailor it to your needs. For example, you can allow specific contacts or apps to bypass this mode, so only essential notifications come through.
At the bottom of the settings page, you can also choose a specific wallpaper and lock screen for this mode. Just tap "Edit" to set a dedicated home screen, like one with only your work tools, as the primary screen you’ll see when this mode is active.
You can even set a schedule for when this kicks in, like in the evenings to help you wind down. Additionally, there are filter options you can play with. This AI-enhanced focus mode is perfect for keeping distractions to a minimum.
Another handy feature: notifications from the same app will now stack up instead of flooding your screen individually. It’s a thoughtful upgrade that keeps you focused and less overwhelmed.
These are just a few Apple Intelligence features to dive into right away! And don’t forget to stay tuned for my next video, where we’ll dive even deeper. See you next time—don’t be late!


